
You Can Create an Online Course Without Being on Camera
Slides and your recorded voice can make a useful professional course. Here’s what the narration needs to add, how to get started, and when students need a demonstration.
Justin Allan, NP3 min read
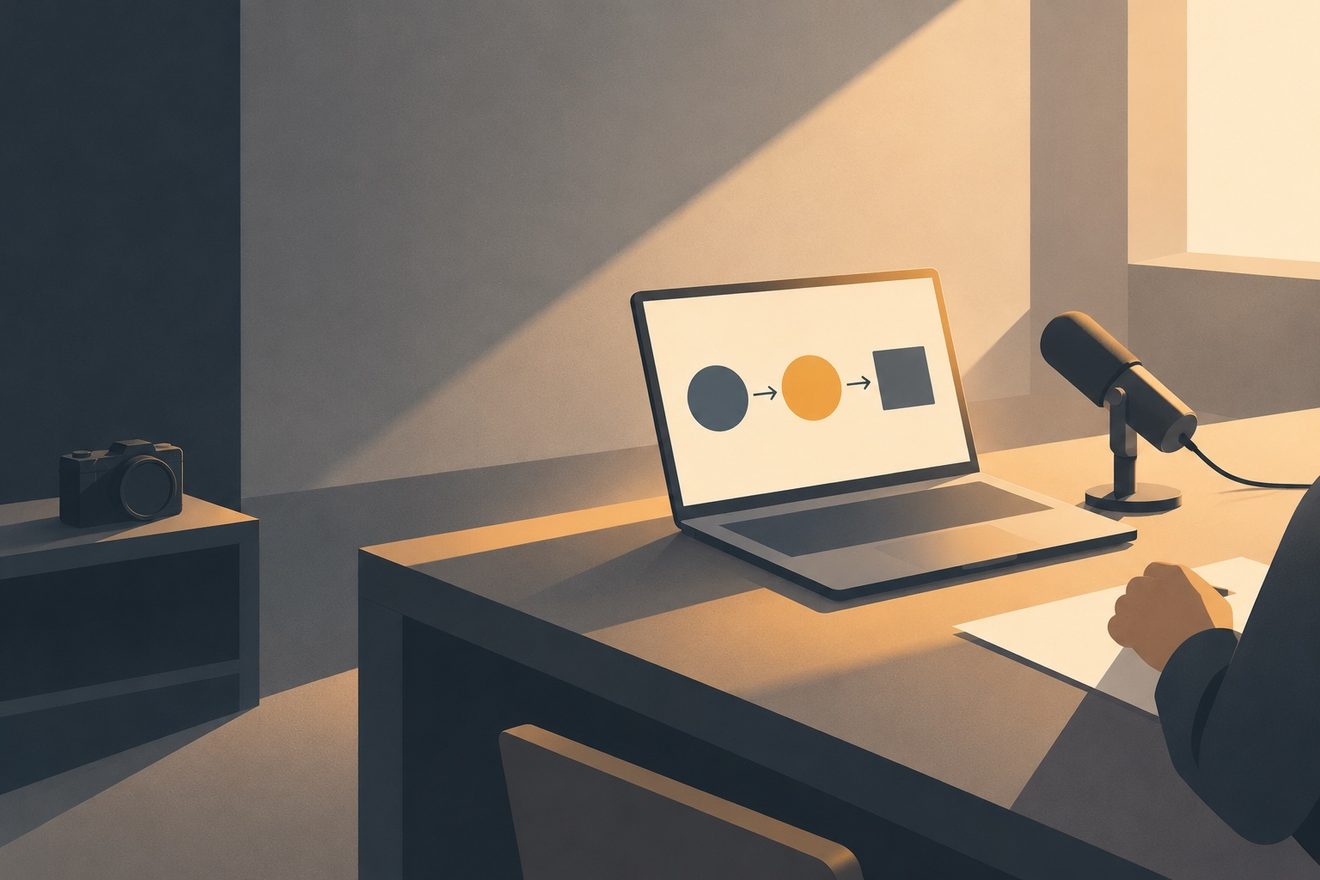
If the thought of filming yourself is holding you back from creating a course, you have another option: record your voice over slides.
I developed my courses using PowerPoint slides and recorded explanations, and I also appear on camera. You can teach a useful lesson with slides and your voice without appearing on screen. You still have to know the material and explain it well.
What students actually watch
The finished lesson is a video. As the slides change, students hear you explain what they’re looking at. A slide might show the steps in a process, a diagram, a worked example, or the main points they need to remember.
Reading every bullet aloud gives someone little reason to listen. They could read the slide themselves. Your explanation should help them understand why a step matters, how to use it, and where they’re likely to get stuck.
Imagine you’re teaching a new clinic manager to run a useful staff meeting. You could put a sample agenda on the screen. Near the end, it says, “Confirm next steps.”
You could simply read those words. Or you could explain what they mean in practice: if the group agrees to change the appointment reminder process, someone needs to be responsible for making that change. Before the meeting ends, agree on who will do it and when they’ll report back. Otherwise, people can leave remembering the discussion but assuming someone else is handling it.
With that explanation, you’ve shown the learner how to use the agenda when the meeting ends. You could also give students a downloadable agenda template to use at work.
That’s the kind of detail to bring into your lessons. Explain the reasoning. Work through examples. Talk about mistakes you’ve actually seen and how to avoid them.
How to put a lesson together
Start with what the student needs to understand and be able to do. Put the material in an order that makes sense for someone learning it. Cover the necessary background before asking them to follow more advanced steps.
Then build the slides around that explanation. Make the text easy to read, and use a diagram or example where it helps. You’re giving yourself a sequence to teach from and giving the student a way to follow along.
One approach I’ve used is to record the narration separately from the slides. For that, you need a computer, a microphone and audio-recording software. Find a quiet place and make a short test recording before you work through the entire lesson.
Listen to it. Is your voice clear? Is there an echo that makes the words hard to follow? Adjust the setup now, while you only have a small recording to redo. Use the same room and microphone, and keep roughly the same distance from it as you record the remaining lessons so the sound stays consistent.
I learned that last part from experience. I recorded some of my early course material in different places, and the audio sounded different from one recording to the next.
Record in sections rather than trying to get the whole course right in one take. When recording audio separately, label the files so you know which slides they belong with. Then you or an editor can edit the audio and use video-editing software to match the slide changes to your narration. Export each lesson as a video, and watch the finished version before uploading it to check that the right slide appears as you discuss it.
Those lessons go into a course platform, where students can open them in order and watch them on their own time.
When you need to show more
Slides and narration work well for explaining ideas, decisions and processes. Some lessons need another kind of visual.
If you’re teaching someone how to use software, show the screen while you work through the task. They need to see where you click and what happens next. If you’re teaching a physical technique, include a filmed demonstration when students need to see the movement or positioning.
You can combine those demonstrations with narrated slides. The course doesn’t have to use the same format for every lesson.
And if you want to appear on camera to introduce yourself or explain part of the material, you can. The point is to choose what helps the student understand what you’re teaching.
You don’t need to settle every production detail before finding out whether you can teach this way. Take a part of your subject that you know well, put together the slides it needs, and record yourself explaining it. Play it back with the slides in front of you. Listen for the places where a learner would need another explanation or example, then improve those parts.